It's only the first day of March, and I am starting this month's update page.
THINGS ARE MOVING QUICKLY !!!!!
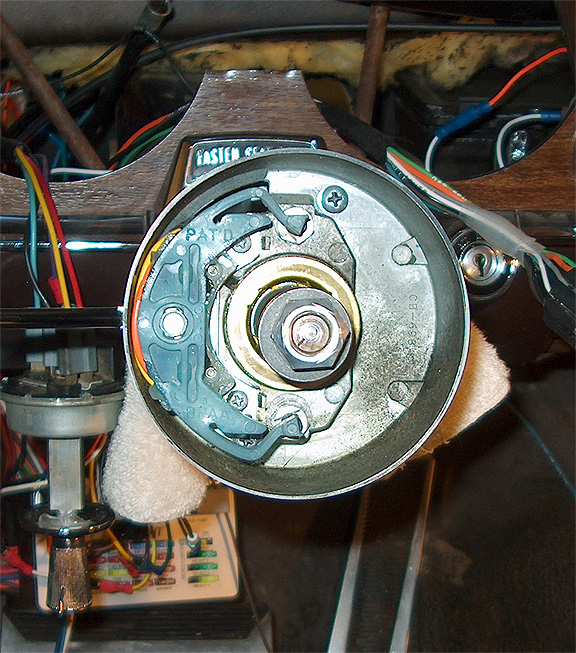
Our old turn signal cancel cam broke years ago. (I did it, I'll confess - when I turning onto Pershing Ave. in Stockton). I figured one of the many reproduction ones for sale would fit....except we couldn't figure out how to get the plastic part (which was the broken part) off the entire switch mechanism. Once again, it was the internet to the rescue, as several folks on the AMC forum recalled that in some cars, the entire switch had to be replaced.
Mine was one of these cars, and the switch is the yellow one shown in the first picture.
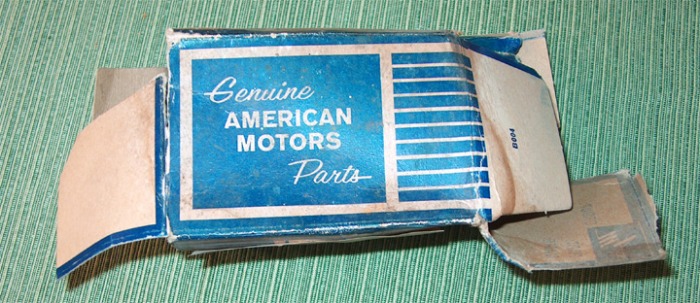
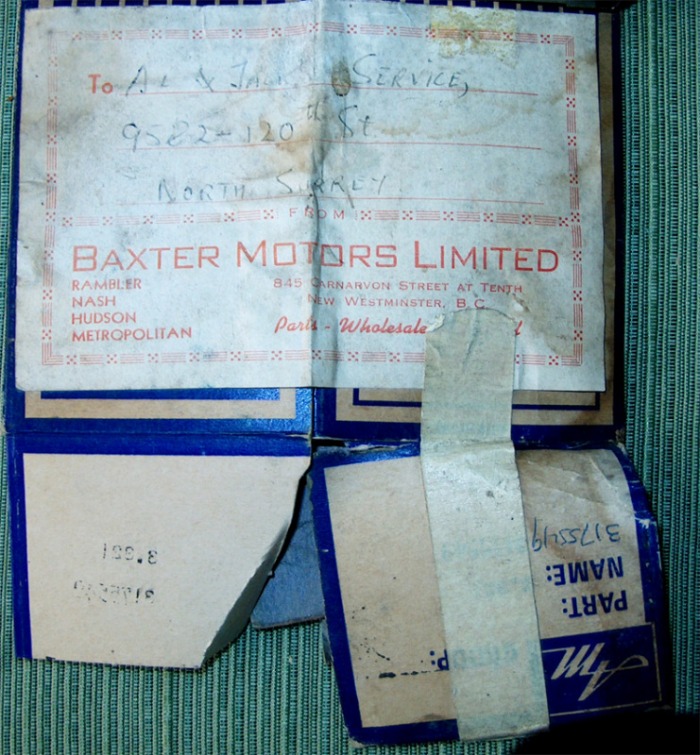
Fortunately, by Googling the part number, I found an NOS one in B.C. The good people there took time out of their Olymplc revels to send it my way, and it is now installed. It's the blue one in the pictures, and it came in the really cool AMC box also shown.
It's pretty amazing how firm and crisp the turn signal lever feels with this new cam.
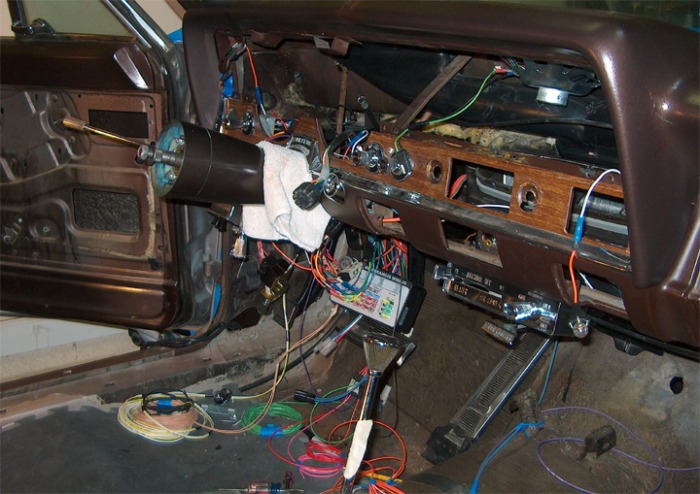
Rick continues to work on the wiring. He's testing it as he goes, and, so far, so good.
Yeah, I know....amazing. Just look at all that wiring....Wow. He's amazing.
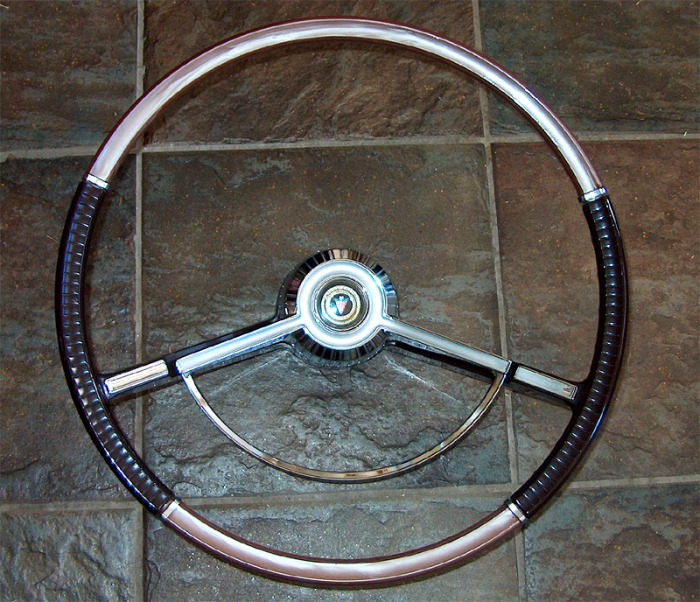
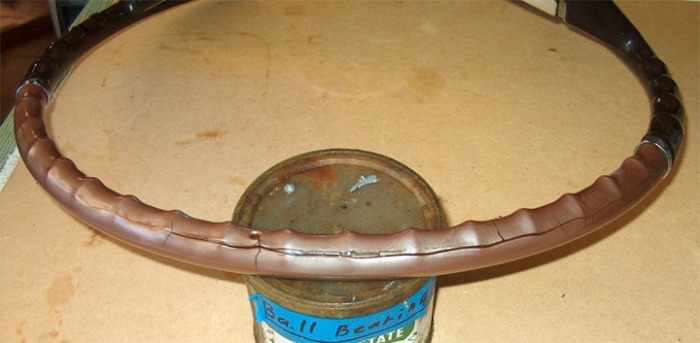
I've completed the steering wheel repair. The top, backside of it had some serious cracks. I didn't want to repair them and lose the beauty of the wheel, so I poured clear resin into the cracks. It took 5 pours to slowly build up the level to where I liked it. The cracks still show, but the gaps are filled in and the wheel is stabilized. I don't know how long this repair will last, but I am happy with the result. I did no harm, and I can attempt other repairs later if I need to.
It's a particularly pretty steering wheel, I think. There is an area where the frosting has worn away - not sure if I want to repaint it or leave it as a sign of now many hands and fingers, mostly of my family members, have rested there, wearing the frosted paint off, little by little.
The dash knobs have been cleaned and repainted in areas where the paint had worn away. It's hard to see how nice they look in these pictures, but they look nice. Really.
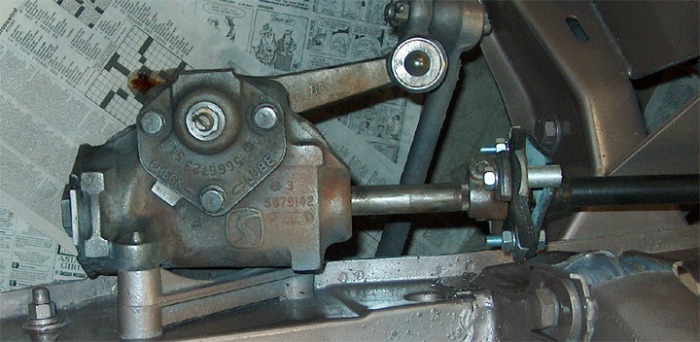
Of course, sometimes it seems that for each step forward, there's one back. The defroster cable broke, but, thanks to the internet again, another one has been offered if a car being scrapped has a good one. The other step backwards is that the steering joint, which has been solid and clean, has started to leak...see the pool of goo on the newspaper ? I think working on the steering column disturbed the "engine skin" that had sealed it.
We will have to see just how far back of a step this is.
Following are some pictures of the stuff we've been working on. Click on any to enlarge.
THINGS ARE MOVING QUICKLY !!!!!
Our old turn signal cancel cam broke years ago. (I did it, I'll confess - when I turning onto Pershing Ave. in Stockton). I figured one of the many reproduction ones for sale would fit....except we couldn't figure out how to get the plastic part (which was the broken part) off the entire switch mechanism. Once again, it was the internet to the rescue, as several folks on the AMC forum recalled that in some cars, the entire switch had to be replaced.
Mine was one of these cars, and the switch is the yellow one shown in the first picture.
Fortunately, by Googling the part number, I found an NOS one in B.C. The good people there took time out of their Olymplc revels to send it my way, and it is now installed. It's the blue one in the pictures, and it came in the really cool AMC box also shown.
It's pretty amazing how firm and crisp the turn signal lever feels with this new cam.
Rick continues to work on the wiring. He's testing it as he goes, and, so far, so good.
Yeah, I know....amazing. Just look at all that wiring....Wow. He's amazing.
I've completed the steering wheel repair. The top, backside of it had some serious cracks. I didn't want to repair them and lose the beauty of the wheel, so I poured clear resin into the cracks. It took 5 pours to slowly build up the level to where I liked it. The cracks still show, but the gaps are filled in and the wheel is stabilized. I don't know how long this repair will last, but I am happy with the result. I did no harm, and I can attempt other repairs later if I need to.
It's a particularly pretty steering wheel, I think. There is an area where the frosting has worn away - not sure if I want to repaint it or leave it as a sign of now many hands and fingers, mostly of my family members, have rested there, wearing the frosted paint off, little by little.
The dash knobs have been cleaned and repainted in areas where the paint had worn away. It's hard to see how nice they look in these pictures, but they look nice. Really.
Of course, sometimes it seems that for each step forward, there's one back. The defroster cable broke, but, thanks to the internet again, another one has been offered if a car being scrapped has a good one. The other step backwards is that the steering joint, which has been solid and clean, has started to leak...see the pool of goo on the newspaper ? I think working on the steering column disturbed the "engine skin" that had sealed it.
We will have to see just how far back of a step this is.
Following are some pictures of the stuff we've been working on. Click on any to enlarge.